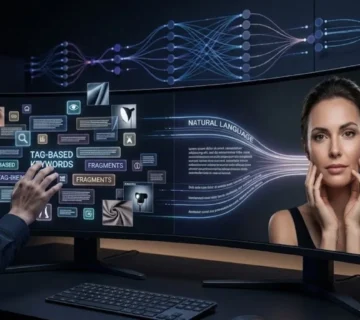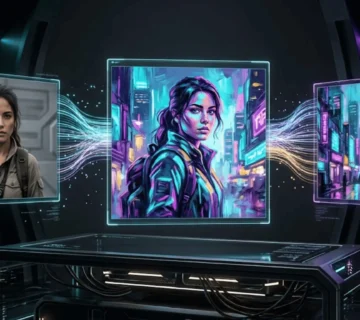
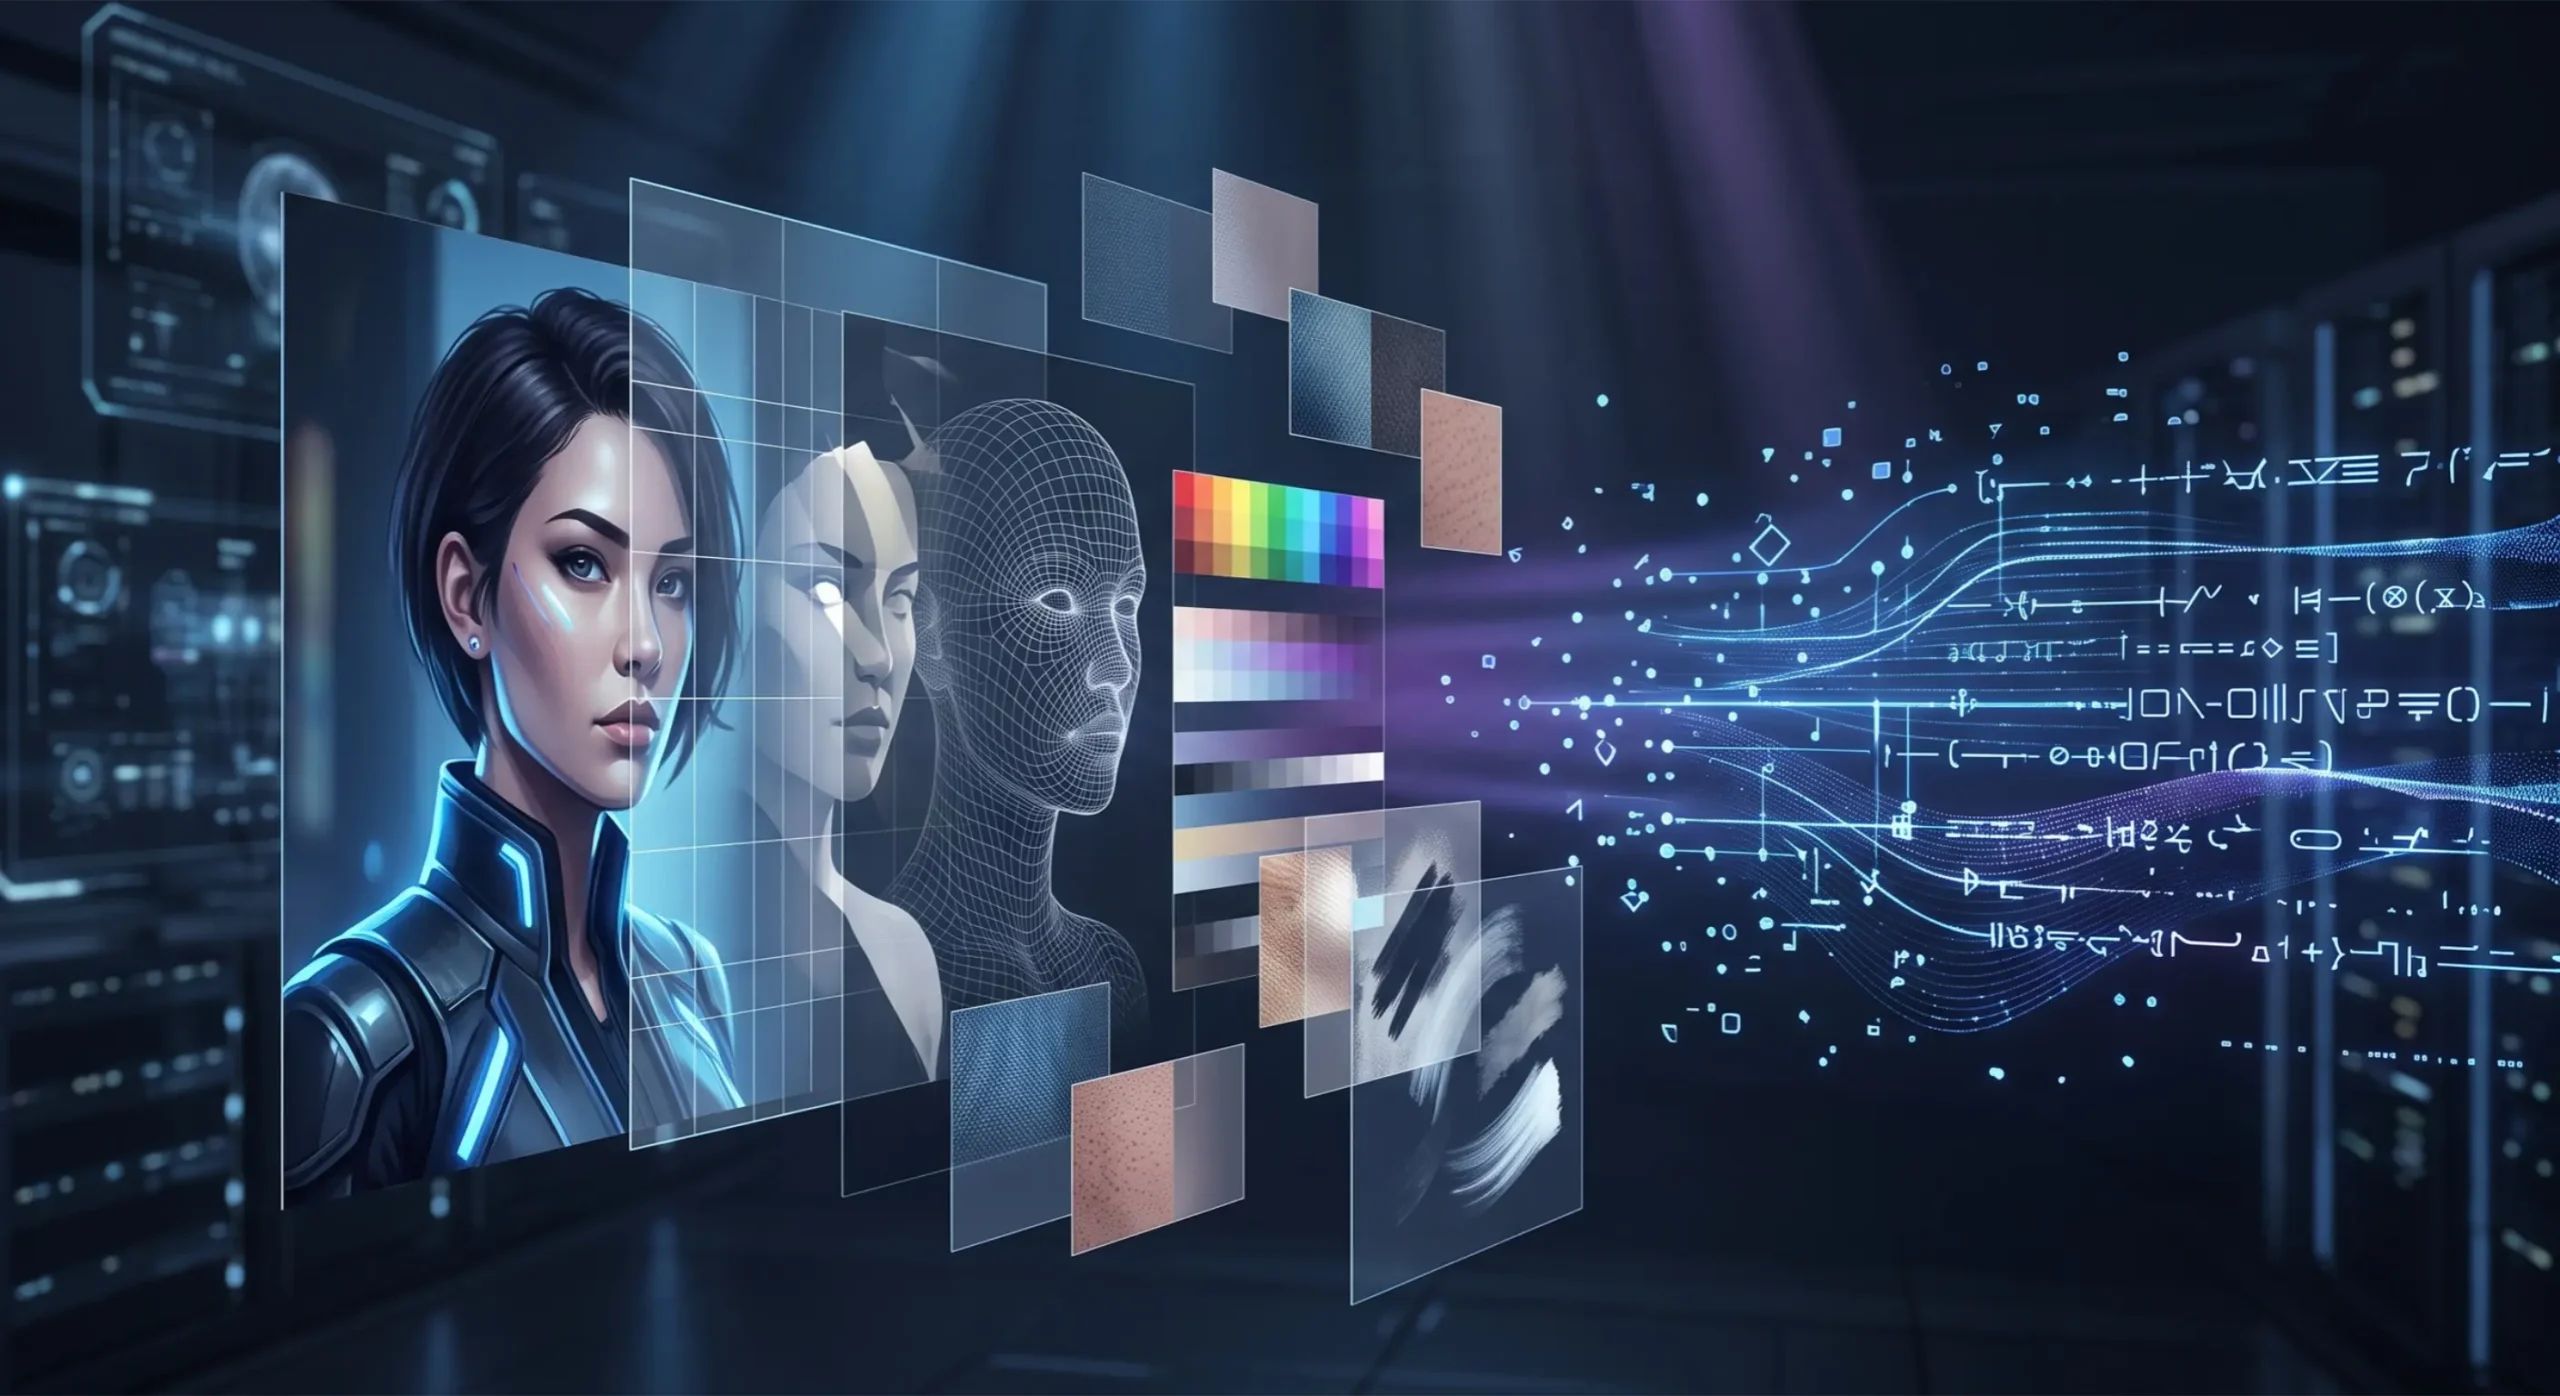
I know the feeling: you find an AI image with exactly the lighting, framing, atmosphere, and material detail you want, but you have absolutely no idea what prompt created it. Trying random phrases like “cinematic,” “professional lighting,” and “ultra detailed” rarely gets you close. If you want to reverse engineer image into prompt effectively, you need to stop guessing and start treating the image as a collection of visual decisions.
That distinction matters. An image does not contain a hidden text file containing its original prompt. It shows you the final visual result after the prompt, model, random seed, generation settings, reference images, and possibly post-processing have all done their work. So I never promise myself that I can recover the exact original prompt. I aim for something much more useful: a reusable prompt that reproduces the visible creative intent.
I’ve found that this becomes much easier once you separate subject, composition, camera, lighting, color, medium, texture, and mood instead of describing the picture as one giant sentence. You can use the same approach manually or automate most of it with vision-language models. If you’re building broader prompt workflows, I also recommend keeping our complete AI prompt generators directory nearby so you can move between extraction and generation tools without rebuilding your process every time.
Image to Prompt
Convert an image into a detailed AI image prompt.
Drop image here or browse
Image Prompt
In this guide, I’ll show you exactly how I break an image apart, what vision models can actually infer, when manual analysis beats automation, how I rewrite extracted prompts for Midjourney, Stable Diffusion, and FLUX, and how I use an iterative reconstruction loop when the first generated result misses the reference.
Table of Contents
- Why Reverse Engineer Image Into Prompt Instead of Guessing?
- What Vision-Language Models Extract from an Image
- Manual Visual Deconstruction vs. Automated Extraction
- Adapting Extracted Prompts for Midjourney, Stable Diffusion, and FLUX
- How to Reverse Engineer Image Into Prompt with Promptsera
- The Generate-Compare-Refine Loop Most People Skip
- Frequently Asked Questions
- The Verdict
Why Reverse Engineer Image Into Prompt Instead of Guessing?
Starting from a blank prompt is surprisingly inefficient when you already have a visual reference. The image has already solved dozens of creative problems for you. It has a camera position. A subject scale. A dominant light source. A palette. A depth structure. A visual medium. My job is simply to translate those visible decisions into language the next image model can understand.
This is why I treat reverse prompt engineering more like visual analysis than prompt writing. Instead of asking, “What magic keywords probably made this?” I ask much narrower questions. Where is the light coming from? Is it hard or diffused? How much of the frame does the subject occupy? Is the perspective compressed like a telephoto image or exaggerated like a wide-angle shot? Is the surface clean, glossy, weathered, grainy, translucent, or matte?
- Subject: Identify exactly what the viewer is looking at before adding stylistic language.
- Composition: Record framing, subject placement, negative space, symmetry, camera height, and viewing angle.
- Lighting: Identify direction, softness, contrast, color temperature, practical lights, rim light, and shadow behavior.
- Color: Describe the dominant palette, saturation, contrast, and grading rather than listing every visible color.
- Medium: Decide whether the result behaves like photography, 3D rendering, illustration, painting, collage, or another medium.
- Texture: Pay attention to materials, skin, fabric, metal, glass, grain, brushwork, and other surface cues.
Here’s the catch: generic quality words are usually less important than structural observations. “Masterpiece, amazing quality, 8K” tells me almost nothing about why a reference works. “Low-angle close portrait, diffused window light from camera left, shallow depth of field, muted olive and amber grade” gives the model far more useful information.
What Vision-Language Models Extract from an Image
A good vision-language model can turn visual information into structured language, which makes it extremely useful for image-to-prompt work. I use it as a visual analyst, not an oracle. It can describe what is visible and make reasonable technical estimates, but it cannot reliably reveal information that the final pixels do not contain.
For photography-style references, I normally ask for subject attributes, environment, shot size, camera angle, approximate lens character, depth of field, lighting direction, lighting quality, color treatment, materials, and mood. For illustrations, I replace some of the camera emphasis with medium, line treatment, edge quality, brush texture, shape language, rendering detail, and compositional style.
Analyze this reference image as a prompt engineer. Extract only visually supportable information under these categories: 1. Main subject and visible attributes 2. Pose or action 3. Environment and background 4. Composition and framing 5. Camera angle and approximate lens character 6. Depth of field and focus behavior 7. Lighting direction, softness, contrast, and temperature 8. Dominant color palette and color grading 9. Materials and surface textures 10. Artistic medium or photographic style 11. Mood and atmosphere 12. Aspect ratio and output constraints Then reconstruct these observations as a reusable image-generation prompt. Do not claim to know the original prompt, seed, model, hidden references, or generation settings unless they are independently provided.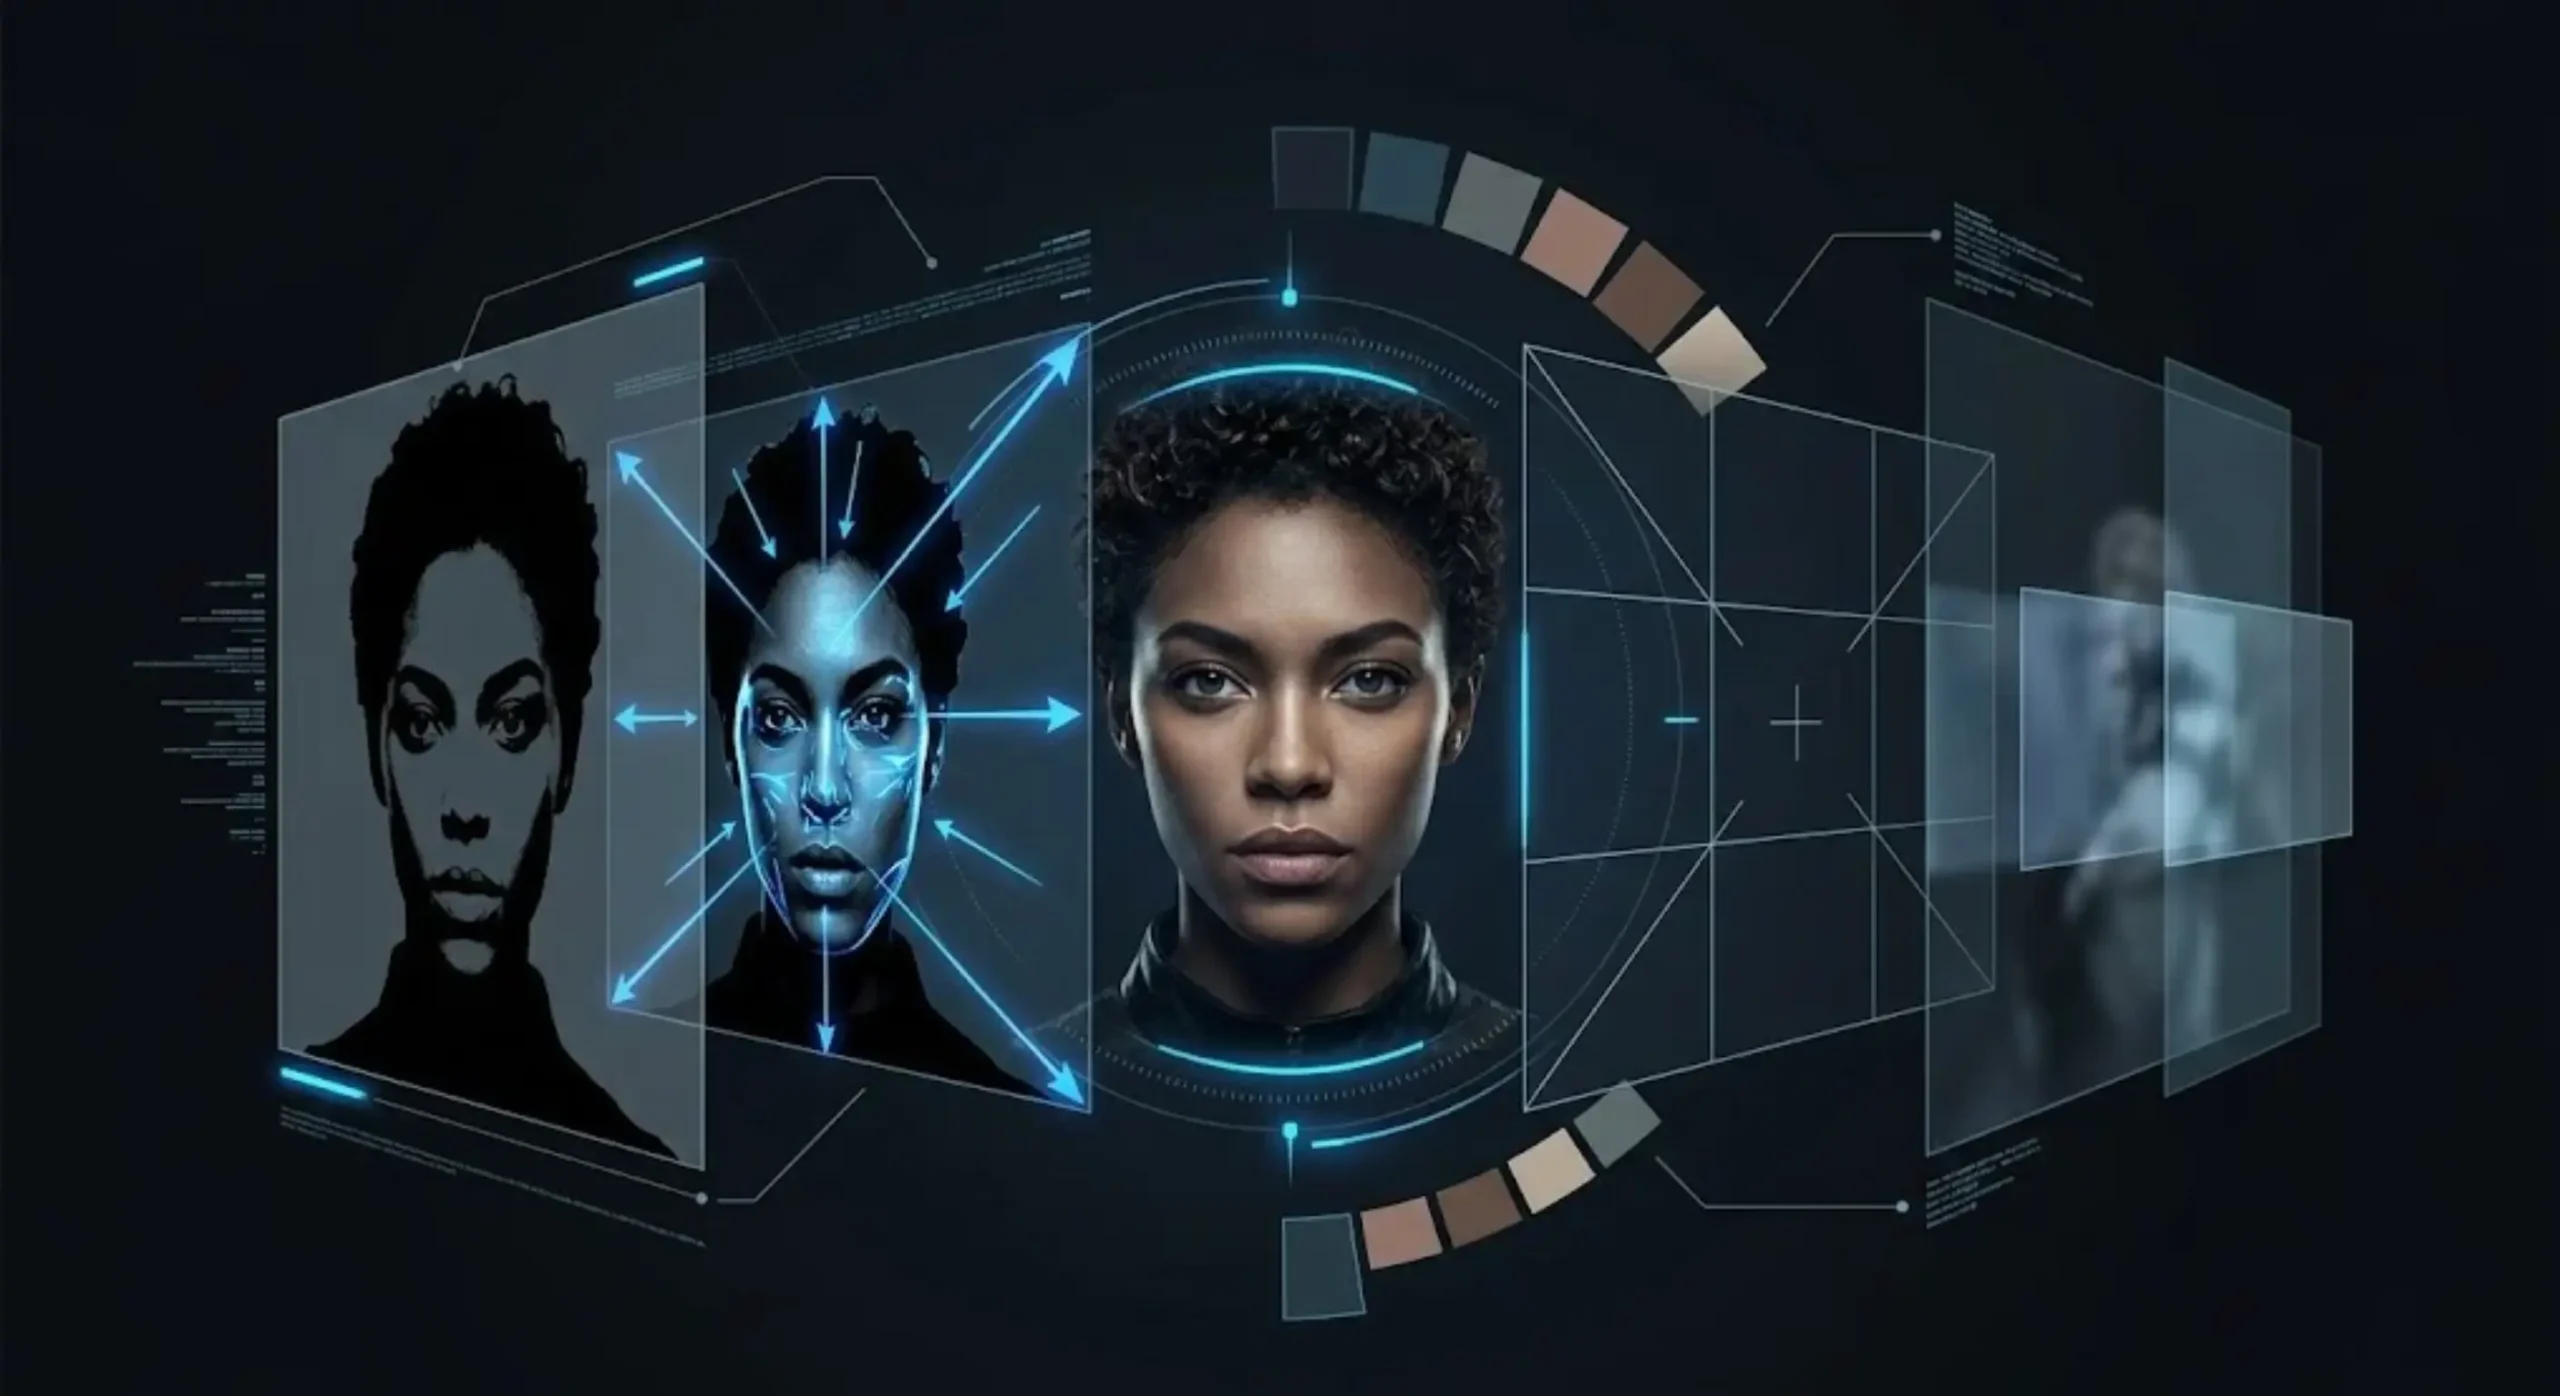
I deliberately include the final warning because vision models can sound more certain than the image justifies. If a photograph looks like an 85mm portrait, I am happy to describe it as having an “85mm-style compressed perspective,” but I would not claim that a specific physical lens definitely produced it. That difference keeps the extracted prompt useful without turning guesses into fake metadata.
Manual Visual Deconstruction vs. Automated Extraction
I use both methods, but for different reasons. Manual deconstruction is slower and teaches you much more. Automated extraction is faster and catches details you might overlook. The best workflow combines them.
When I manually reverse engineer an image, I start with the largest visual facts and move toward the smaller ones. I do not start by naming an aesthetic. That is a common mistake because style labels can become shortcuts that hide more useful information.
SUBJECT: Young woman in a dark tailored jacket, three-quarter profile COMPOSITION: Chest-up portrait, subject positioned slightly right of center, large negative space on the left CAMERA: Eye-level perspective, portrait-lens compression, shallow depth of field LIGHTING: Large soft source from camera left, subtle warm rim light behind subject, deep but readable shadows COLOR: Muted charcoal, warm beige skin tones, small amber highlights BACKGROUND: Dark studio environment with soft circular practical lights TEXTURE: Natural skin detail, matte wool fabric, subtle photographic grain MOOD: Quiet, cinematic, restrained editorial atmosphereOnly after that do I assemble the prompt. This keeps every phrase tied to something visible.
Automated tools speed up the same process. I especially like them when the image contains complicated lighting, several materials, architecture, layered backgrounds, or a style I can recognize visually but struggle to name precisely. A free Image to Prompt Generator can give me the first structured draft, which I then edit rather than accepting blindly.
That said, automated output often becomes too descriptive. A long caption is not automatically a good generation prompt. I routinely delete irrelevant story details, uncertain assumptions, duplicated adjectives, and elements that do not affect the visual target.
- Use manual analysis when: you want to learn why an image works or control every visual variable.
- Use automated extraction when: you need speed, a starting vocabulary, or analysis of a visually complex reference.
- Use both when: fidelity matters and you plan to regenerate and refine the result.
Adapting Extracted Prompts for Midjourney, Stable Diffusion, and FLUX
One of the biggest mistakes I see is treating an extracted prompt as universally finished. The visual information can be model-agnostic, but the final prompt should usually be rewritten for the generator that will consume it.
For Midjourney, I keep the descriptive core relatively compact and move formal parameters to the end. Aspect ratio, stylization behavior, reference controls, and related settings belong outside the natural-language description. If I am rebuilding the prompt before generation, I often use the Midjourney Prompt Generator to clean up the descriptive hierarchy.
Cinematic chest-up editorial portrait of a woman in a dark tailored jacket, three-quarter profile, slightly right of center, dark studio background, large soft key light from camera left, subtle amber rim light, shallow depth of field, portrait-lens compression, muted charcoal and warm beige palette, natural skin texture, restrained photographic grain --ar 2:3 --rawFor Stable Diffusion, I am more willing to separate positive and negative instructions. Depending on the interface and model, I may also use weighting or dedicated generation controls rather than forcing every constraint into the positive prompt. Prompt clarity still matters more than stuffing the field with dozens of loosely related tags. The Stable Diffusion Prompt Generator is useful when I want to convert a natural-language extraction into a cleaner model-ready structure.
POSITIVE: Cinematic editorial portrait, woman wearing a dark tailored jacket, three-quarter profile, chest-up framing, soft directional studio lighting, warm rim light, shallow depth of field, compressed portrait perspective, muted charcoal and beige color grade, detailed natural skin, matte fabric, subtle photographic grain NEGATIVE: harsh frontal flash, oversaturated colors, busy background, distorted facial anatomy, excessive skin smoothingFor FLUX, I generally keep the prompt closer to clear natural language. I describe relationships explicitly: what the subject is doing, where the subject sits in the frame, where light originates, and how the environment should look. I do not automatically carry a Stable Diffusion-style negative prompt into a FLUX workflow.
Create a cinematic chest-up editorial portrait of a woman wearing a dark tailored jacket. She is shown in three-quarter profile and positioned slightly to the right of center, leaving negative space on the left. A large diffused light source from camera left creates soft facial modeling, while a subtle warm backlight separates her from the dark studio background. Use shallow depth of field, compressed portrait perspective, muted charcoal and warm beige tones, natural skin texture, matte fabric detail, and restrained photographic grain.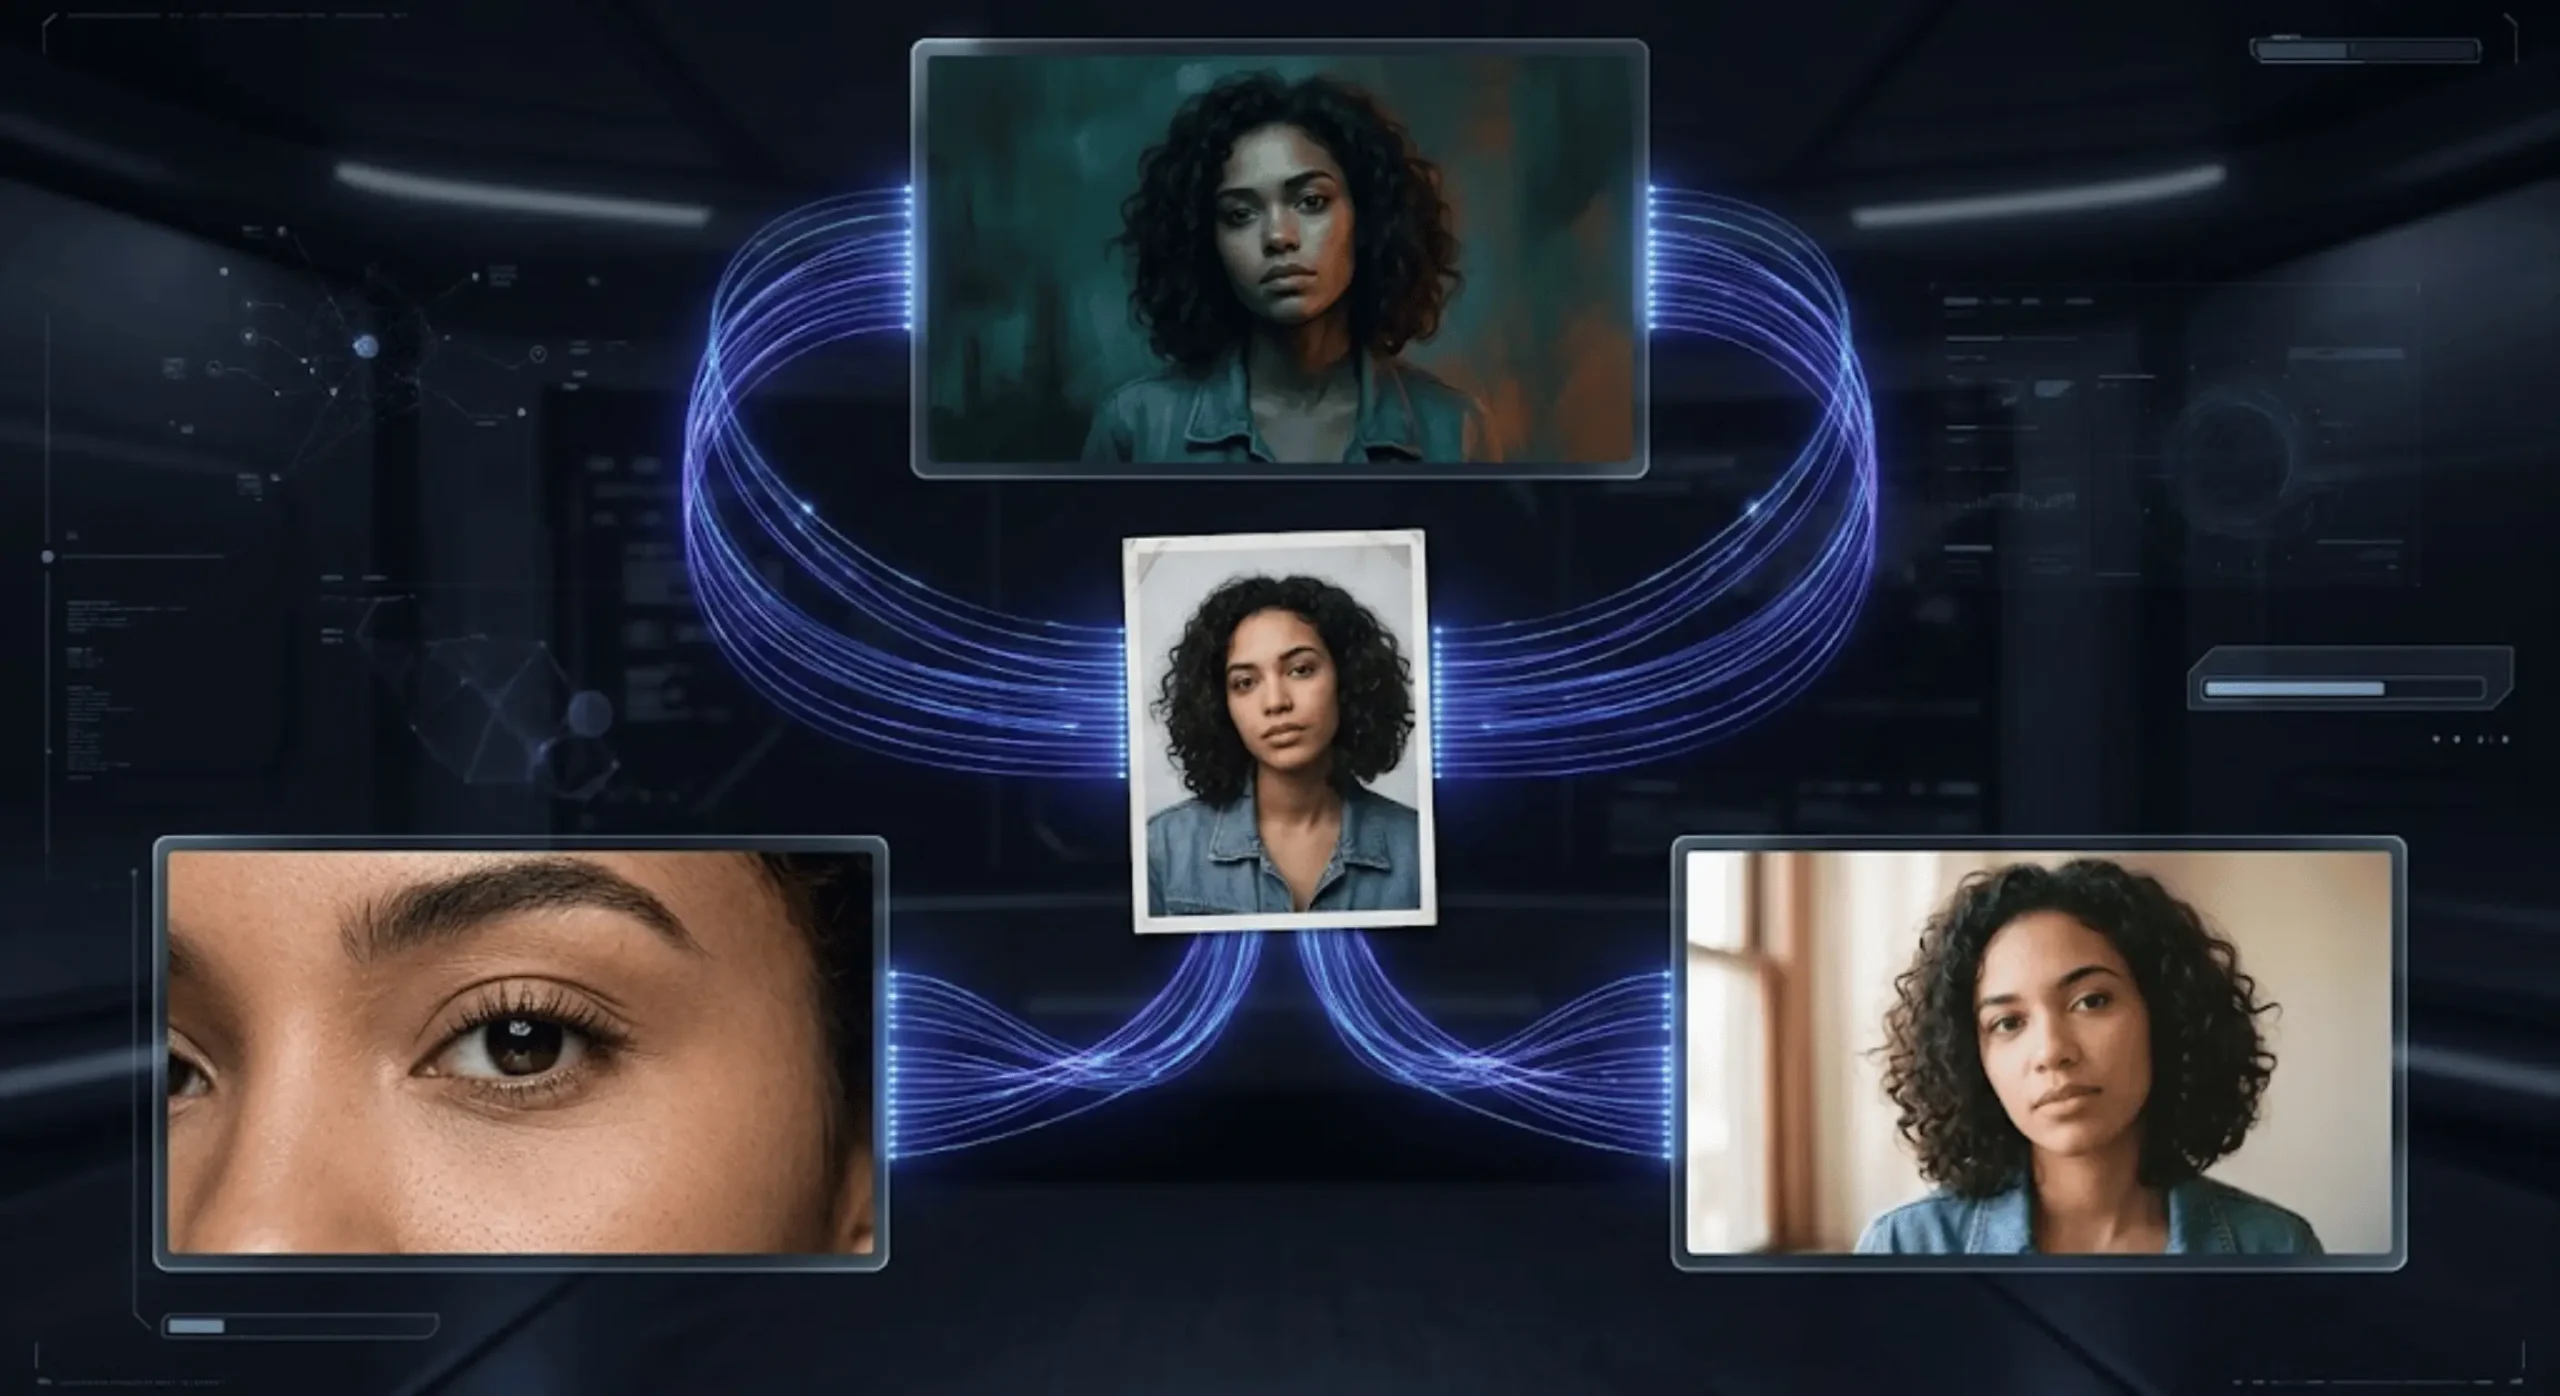
How to Reverse Engineer Image Into Prompt with Promptsera
When I want the fast version of this process, I use a simple five-step workflow. The objective is not to get one giant prompt and immediately trust it. I want a clean baseline that I can inspect and modify.
- Upload the clearest reference available. Avoid unnecessary screenshots, borders, interface elements, or compression artifacts when possible.
- Generate the initial visual description. Let the vision model identify subject, composition, lighting, palette, medium, and other major cues.
- Remove speculation. Delete unsupported artist names, exact camera claims, narrative assumptions, or hidden generation settings that cannot actually be inferred.
- Preserve the visual anchors. Keep the features that define the image: framing, light direction, subject placement, material qualities, palette, and style.
- Rewrite for your target generator. Convert the cleaned visual specification into Midjourney, Stable Diffusion, FLUX, or another model’s preferred prompt format.
The important part is step three. Unsurprisingly, the longest extracted prompt is not always the best one. Vision systems can describe every object in a scene, but generation models do not necessarily need every object described with equal emphasis.
I rank details by importance instead. If changing a detail would make me say, “That no longer looks like the reference,” it is probably a high-priority anchor. If I could remove it without noticing much difference, it belongs lower in the prompt or can disappear entirely.
The Generate-Compare-Refine Loop Most People Skip
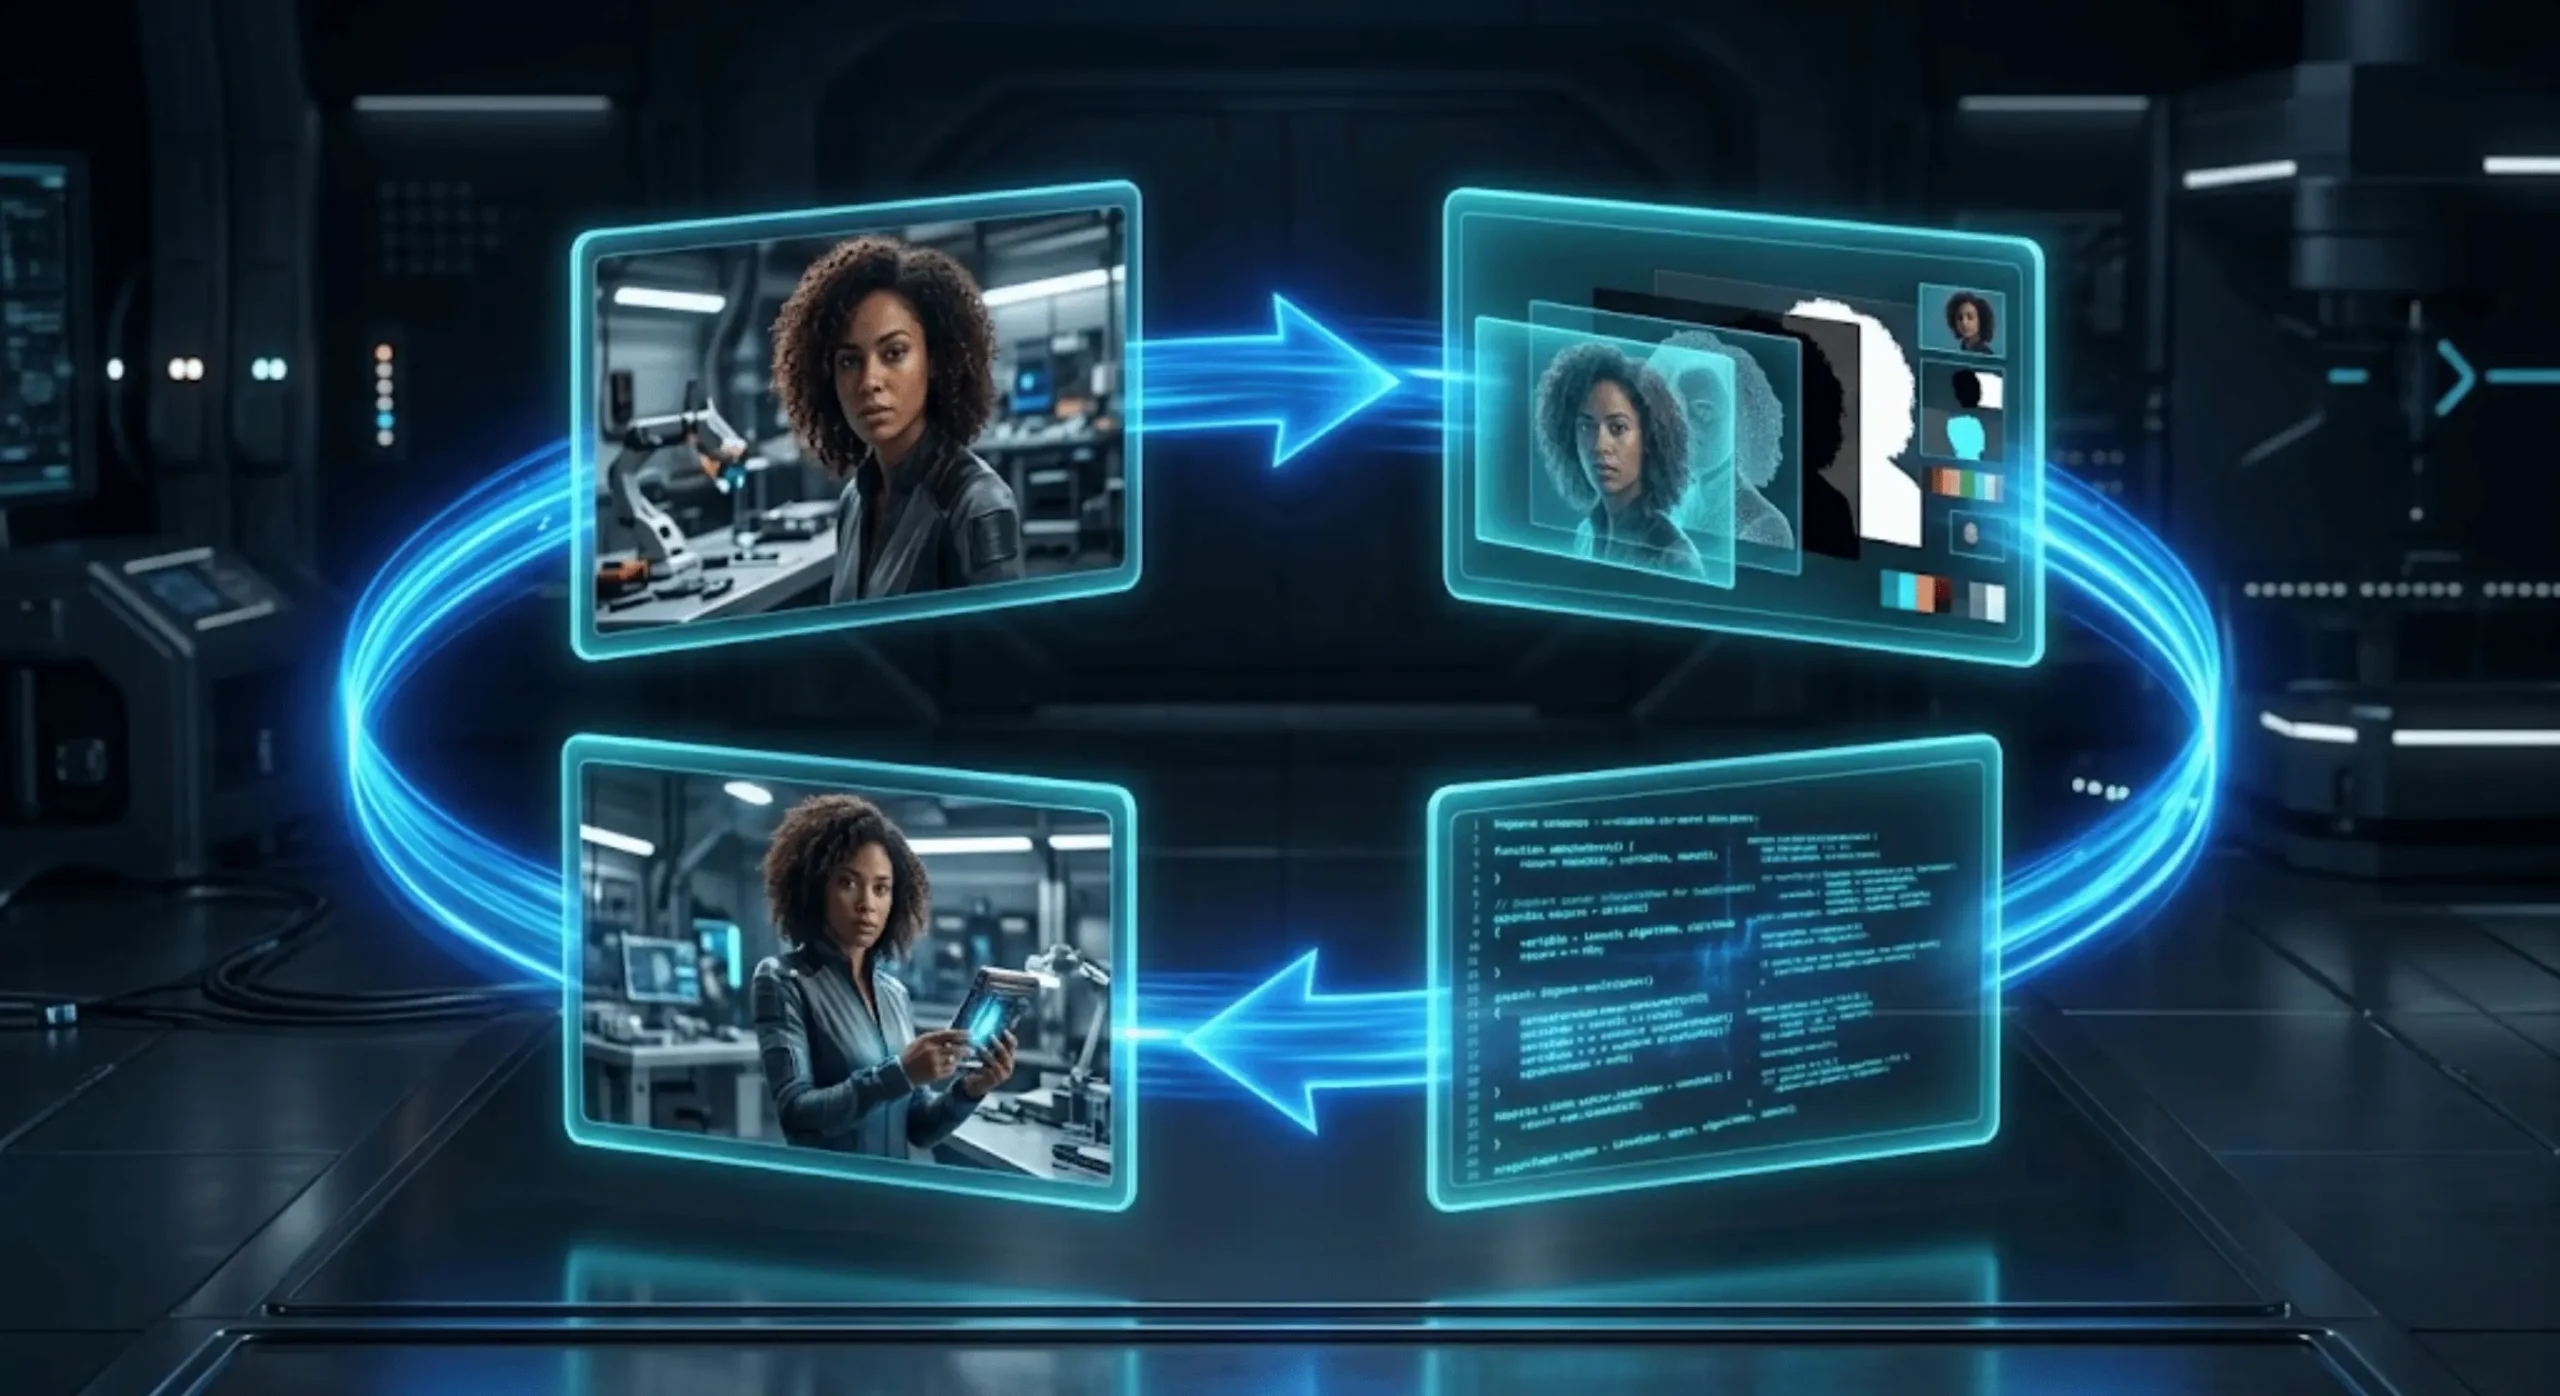
This is where reverse prompt engineering becomes genuinely useful. I almost never judge the extracted prompt before generating with it. The regeneration itself is a diagnostic tool.
I generate a small batch, compare it with the reference, and ask one question: what is the largest visual mismatch? Not ten mismatches. One.
If the framing is wrong, I change framing language. If the lighting is too flat, I improve lighting language. If the color is wrong, I adjust the palette. If the generator keeps turning a restrained editorial photograph into something heavily stylized, I reduce aesthetic modifiers before changing anything else.
REFERENCE: Soft side-lit portrait with large negative space FIRST OUTPUT: Correct person and colors, but centered composition and flat lighting REVISION: Keep subject description unchanged. Strengthen only: - subject positioned in right third - large empty negative space on left - single large diffused source from camera left - stronger light-to-shadow falloff SECOND OUTPUT: Compare again and revise the next largest mismatch.And yet, this very simple discipline is what prevents endless prompt thrashing. If I change composition, lens, lighting, style, palette, and materials simultaneously, I cannot tell which change improved the result.
I also save successful fragments. Phrases such as “large diffused source just outside frame,” “compressed portrait perspective,” or “matte stone with shallow surface relief” become reusable components in my own prompt vocabulary. Over time, reverse engineering stops being merely a way to copy a reference and becomes one of the fastest ways to learn visual prompt language.
Frequently Asked Questions
Can you reverse engineer an exact prompt from an AI image?
No. I can reconstruct a prompt that describes the visible result, but an image normally does not reveal the exact original text, random seed, model version, reference images, hidden parameters, or post-processing steps. I treat reverse prompting as visual reconstruction rather than exact prompt recovery.
How do I turn an image into an AI prompt?
I break the reference into subject, action, environment, composition, camera, lighting, color, medium, texture, and mood. Then I combine those observations into a clean prompt and adapt the syntax for the image generator I plan to use.
What is the best image-to-prompt method?
For speed, I prefer automated vision-model extraction. For control and learning, manual visual deconstruction is better. For serious recreation work, I use both: automation creates the first draft, then I manually clean and prioritize the visual anchors.
Can ChatGPT or another vision model create a prompt from an image?
Yes. A multimodal vision model can analyze a reference image and describe many of its visible characteristics. I get better results when I explicitly ask for structured categories instead of simply saying “describe this image.”
Why does my reverse-engineered prompt not recreate the image exactly?
Because the text prompt is only one part of image generation. Model behavior, randomness, seeds, sampler settings, aspect ratio, reference images, control inputs, and post-processing can all change the result. I use the first recreation as a diagnostic and refine the largest mismatch one variable at a time.
The Verdict
The most useful way to reverse engineer image into prompt is not to hunt for secret keywords. I get much better results by treating the image as evidence: identify the visible subject, composition, camera behavior, lighting, color, medium, texture, and atmosphere, reconstruct those features as a model-agnostic visual specification, then adapt that specification to the generator I actually use.
If you want to skip the blank-page analysis and start with a structured draft, run your reference through the Promptsera image-to-prompt converter, clean up anything speculative, generate a test image, and refine the biggest mismatch. That workflow is faster, more teachable, and far more reusable than guessing your way through another pile of generic style keywords.